Introduction to Building Your Own Desktop PC
Embarking on the journey of building your own desktop PC is both an exciting and rewarding endeavor. This guide aims to demystify the process, offering clear and concise instructions for constructing a custom computer that meets your personal specifications and preferences. The primary advantage of building your own system lies in the extensive control it provides; you can choose each component based on your unique requirements, whether they be for gaming, content creation, or general use.
One notable benefit of assembling a desktop PC is the satisfaction that comes from creating a machine tailored precisely to your needs. Unlike pre-built systems, which often come with limitations in terms of upgradeability and customization, a self-assembled desktop allows for regular enhancements and alterations. As technology continues to evolve, the ability to swap out components, such as the graphics card or memory, ensures that your system remains relevant and powerful over time.
Furthermore, building your own desktop can be a cost-effective solution. While pre-built computers often come with inflated prices due to labor and marketing costs, sourcing individual parts can often save you money. This not only allows you to invest in higher quality components that will enhance performance but also offers a learning experience that can deepen your understanding of computer hardware and software.
Throughout this guide, you will find detailed steps that address every aspect of building a desktop PC, from selecting components to assembling and troubleshooting your new system. Whether you are a beginner or someone with prior experience, this guide aims to serve as a comprehensive resource, highlighting the advantages of creating your own custom desktop PC and equipping you with the confidence to tackle the project ahead.
Choosing the Right Components
Building your own desktop PC begins with understanding the essential components that will dictate performance, compatibility, and ultimately, your user experience. The heart of any computer is its central processing unit (CPU). For high-performance needs, consider the AMD Ryzen 7 7800X3D. This processor stands out in the current market due to its superior architecture and integrated 3D V-Cache technology, offering exceptional multi-threaded performance ideal for both gaming and productivity tasks.
Next, the graphics processing unit (GPU) is critical, particularly for gamers and content creators. The NVIDIA GeForce RTX 4080 is an excellent choice, providing remarkable graphics capabilities and real-time ray tracing, ensuring that you can enjoy the latest games with high fidelity. This component not only handles rendering efficiently but also enhances the overall multimedia experience.
Another important aspect to consider is the system’s memory. Opt for RAM that aligns with your performance goals. A reliable choice is the Corsair Vengeance DDR5 32GB, which delivers faster speeds and higher bandwidth compared to its predecessors. This ample amount of memory allows for smooth multitasking and supports heavy applications, making it an excellent investment for a robust build.
Lastly, storage solutions should not be overlooked. Installing an NVMe SSD, such as the Samsung 990 Pro 2TB, ensures that your system boots quickly and applications load with minimal latency, providing an efficient computing experience. NVMe drives significantly outperform traditional SATA SSDs, making them a necessity for modern builds.
While choosing components, it is crucial to consider budget constraints and ensure compatibility among parts. Reviewing compatibility specifications allows you to avoid performance bottlenecks and maximize your investment. By carefully selecting each component based on your specific needs and preferences, you can achieve a well-balanced and high-performing desktop PC.

Preparing Your Workspace
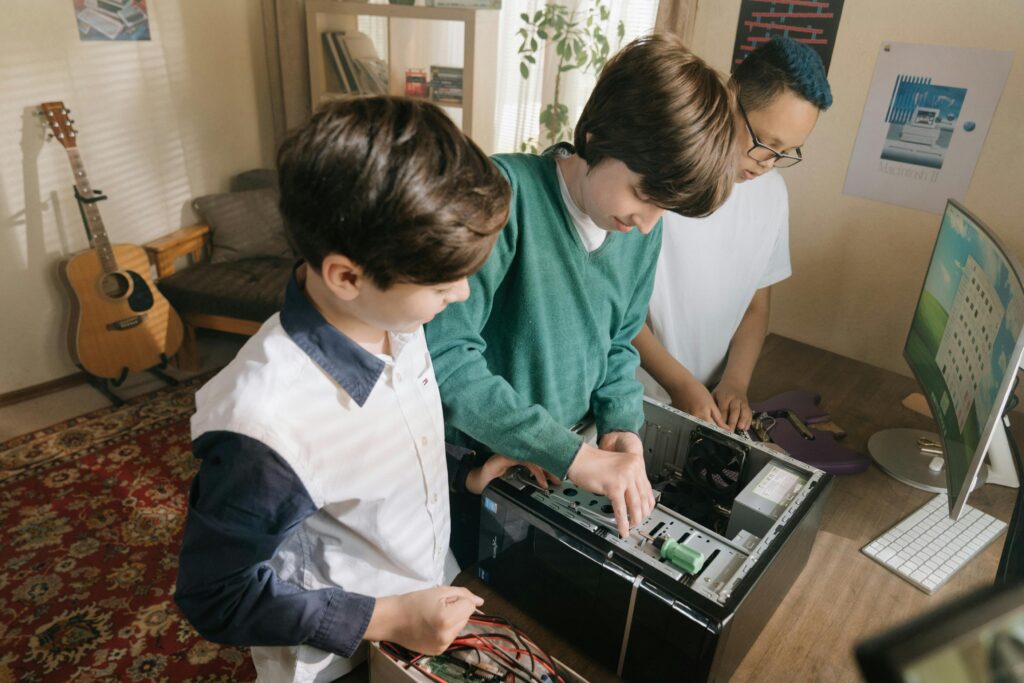
Before embarking on the journey of building your own desktop PC, it is imperative to prepare a clean and organized workspace. A clutter-free environment not only enhances efficiency but also minimizes the risk of mistakes. Start by selecting a suitable surface, such as a large table or desk, that is stable enough to support your components and tools while allowing ample space for movement.
Gather all necessary tools, including a set of screwdrivers, which are essential for securing components together. It is advisable to have both Phillips and flathead screwdrivers in varying sizes to accommodate different screws. An anti-static wrist strap is also crucial to prevent electrostatic discharge that can damage sensitive computer parts. Consider investing in a small container or tray to keep screws and small components organized and easily accessible throughout the build process.
Proper lighting is another key aspect of a well-prepared workspace. Ensure your area is sufficiently illuminated, as working in dim lighting can lead to errors or accidents. If natural light is not an option, using LED work lights or desk lamps can significantly improve visibility while you handle intricate components.
Safety precautions should be a priority as well. Always handle parts by the edges and avoid touching the circuitry to prevent potential damage. Additionally, making sure your workspace is free of static electricity is essential. You can achieve this by not working on surfaces that can generate static, such as carpets, and by regularly wearing your anti-static wrist strap throughout the build process.
By investing time in establishing a suitable workspace, you can approach your desktop PC build with confidence, focusing on assembling your components rather than worrying about external factors. An organized area is conducive to a successful and enjoyable building experience.
Assembly of the Components
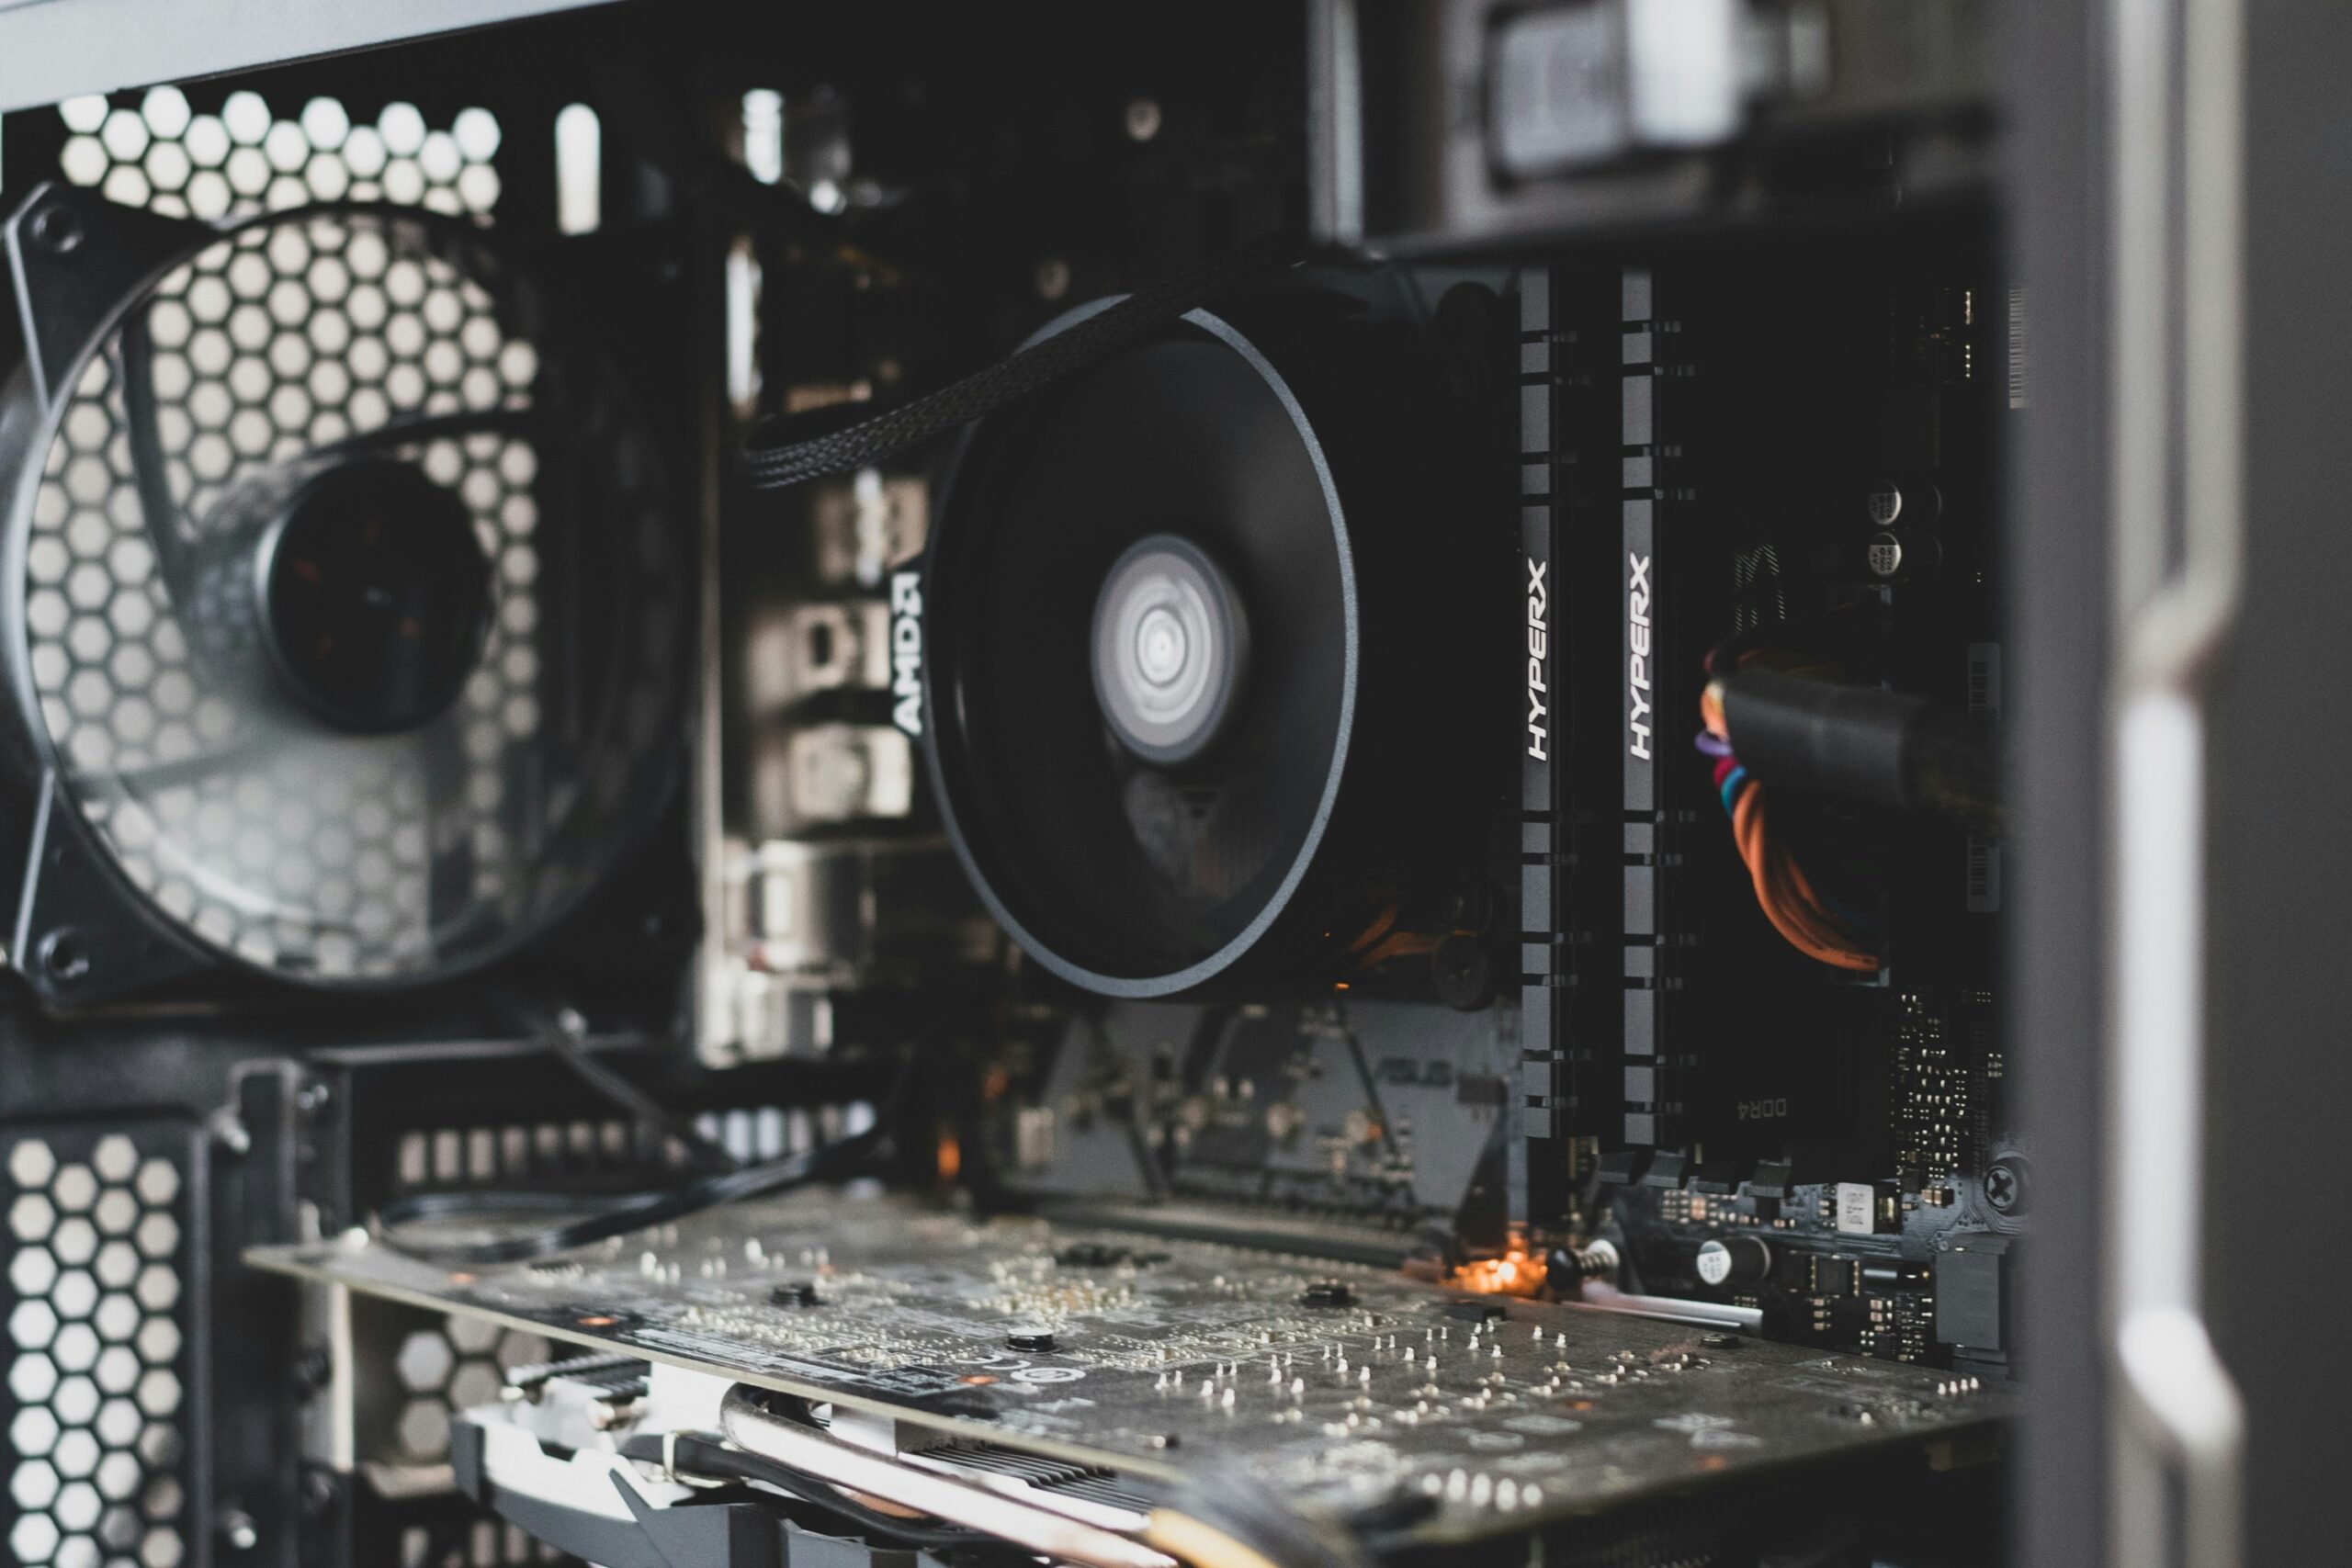
Assembling the components of your desktop PC is a crucial process that requires precision and focus. The initial step involves installing the CPU into the motherboard. Gently unlock the CPU socket lever to expose the socket. Align the CPU’s notches with the socket’s keys and carefully place it into the socket. Once positioned, lower the lever to secure the CPU in place. It is essential to ensure that no pins are bent during this process, as this could lead to significant issues later.
The subsequent step involves adding the RAM. Identify the RAM slots on the motherboard, which are typically located adjacent to the CPU. Depending on the motherboard, you may have two or four slots available. To install the RAM, release the clips on either side of your chosen slot, align the notch on the RAM stick with the slot, and firmly push down until you hear a click. Be mindful of the motherboard’s recommended RAM configuration to optimize memory performance.
Next, you will mount the motherboard into the case. First, prepare the case by installing standoffs that correspond to the motherboard’s mounting holes. Once aligned correctly, gently insert the motherboard and screw it in place. Be cautious to avoid over-tightening the screws, as this can damage your motherboard.
After securing the motherboard, you can proceed to install the GPU. Locate the appropriate PCIe slot, generally situated closest to the CPU. Remove the necessary backplate from the case, then insert the GPU into the slot until it clicks into place. Remember to secure it with screws to prevent it from shifting.
Throughout the assembly process, it is helpful to consult your motherboard and GPU manuals for specific instructions and precautions. Additionally, taking your time and double-checking connections goes a long way in ensuring a smooth build without common pitfalls such as improper seating of components or overlooked power connections.
Wiring and Connectivity
Wiring and connectivity are pivotal elements in the successful assembly of a desktop PC. Once the motherboard and other components are firmly secured within the case, the next step is to establish linkages that power the system and facilitate communication among the various components. Proper attention to this phase can greatly enhance the efficiency and organization of the build.
Commencing with the power supply, it is crucial to connect the 24-pin ATX power connector to the motherboard. This connection is typically situated near the edge of the board, ensuring that power is distributed to the core components. Securely attaching this cable is paramount, as a loose connection can lead to power issues. Following this, the 4-pin or 8-pin CPU power connector should be linked, often found at the top portion of the motherboard, to supply the necessary power to the processor.
Installation of storage devices, such as SSDs or HDDs, requires careful consideration as well. Begin by identifying the SATA ports on the motherboard, then connect the corresponding SATA cables from the drives to these ports. Additionally, a SATA power cable from the power supply must also be connected to each storage device. Ensuring these connections are snug will prevent data transfer issues and allow for optimal performance.
Finally, peripherals such as keyboards, mice, and monitors are connected using a variety of cables. USB ports for input devices are generally at the back or front of the case, and ensuring these connections are made correctly will enable seamless interaction with the new system. For a neat appearance, it is advisable to utilize cable management solutions like zip ties or cable sleeves, which help to keep wires organized and reduce clutter inside the case. By following these guidelines, one can effectively manage the often-complex wiring connections, paving the way for a successful desktop PC build.
Installing the Operating System
After successfully assembling your new desktop PC, the next critical task is to install an operating system (OS). The OS serves as the foundation of your system, allowing you to run applications and manage hardware resources effectively. Common options include Windows 10/11 and various distributions of Linux, each with its unique features and user interfaces.
To begin the installation, the first step is to create a bootable USB drive. This process typically involves downloading the desired OS image file from the official website. For Windows, you can use the Windows Media Creation Tool, while for Linux, you may use tools like Rufus or UNetbootin. These applications allow you to transfer the OS image onto the USB drive, making it bootable. Always ensure that your USB drive has sufficient storage space, generally at least 8 GB, and back up any important data on it, as the formatting process will erase all existing data.
Once the bootable USB drive is prepared, insert it into your newly assembled desktop PC and restart the system. You will need to enter the BIOS or UEFI settings (usually by pressing a key like F2, DEL, or ESC during startup) and set the USB drive as the primary boot device. Save your changes and exit the BIOS. The installation process will begin, guiding you through steps such as selecting the installation location, customizing settings, and agreeing to the terms of service.
After the OS is installed, it’s crucial to update your drivers and configure system settings to maximize performance. This may involve visiting the manufacturers’ websites for the latest drivers for your graphics card, motherboard, and other components. Proper driver installation ensures that your hardware functions optimally, providing a seamless computing experience. Lastly, consider adjusting system settings to fit your personal preferences, ensuring that your new desktop PC meets your needs efficiently.
Benchmarking and Testing Your Build
Once your desktop PC is assembled, the next critical step is benchmarking and testing to ensure all components are functioning efficiently. Benchmarking refers to the process of running specific software tests to evaluate the performance of your newly built PC. This is essential because it allows you to assess whether the hardware meets your expectations and operates as intended.
Various software tools are available for benchmarking, such as 3DMark for graphics performance, Cinebench for CPU performance, and UserBenchmark for an overall system evaluation. Running these tests will provide you with an in-depth look at how your PC’s components stack up against each other, as well as how they compare to industry standards and benchmarks. If the performance metrics fall below your expectations, it may indicate a problem with component installation, compatibility, or configuration.
Monitoring temperatures during these tests is crucial. High temperatures can lead to throttling, where the system reduces its performance to prevent overheating. Use monitoring tools like HWMonitor or MSI Afterburner to keep an eye on the temperatures of your CPU, GPU, and other critical components while under load. Ensuring that cooling solutions, such as fans and thermal paste, are effectively applied can help maintain optimal operating temperatures.
Additionally, performance stability is another key aspect to focus on. It is advisable to conduct extended stress tests using software like Prime95 or AIDA64 to check how your PC performs over longer periods. Stability issues may arise from insufficient power supply, incorrect BIOS settings, or faulty components. Addressing these concerns promptly can prevent future hardware failures and ensure your desktop PC functions smoothly.
By benchmarking and testing your build methodically, you can create a stable and high-performing desktop PC suited to your needs, providing a satisfying computing experience.
Upgrading and Maintaining Your Desktop PC
Once your desktop PC is assembled and operational, the next phase involves its ongoing maintenance and potential upgrades. The dynamic nature of technology means that components will eventually require enhancement to keep pace with software demands and user requirements. Recognizing when to upgrade your hardware is crucial; typically, performance lags, such as long loading times or difficulties in running modern applications, signal a need for an upgrade. Common components to consider include the Graphics Processing Unit (GPU), Random Access Memory (RAM), and storage drives.
Periodic cleaning of the internal components is equally essential for optimal performance. Dust accumulation can significantly hinder airflow and lead to overheating, which negatively impacts your system’s longevity. It is advisable to power down your PC and disconnect it from the electricity supply before cleaning. Utilizing compressed air to carefully remove dust from fans, heatsinks, and other parts will help maintain a clean internal environment. Additionally, organizing cables can enhance airflow within the case, further assisting in heat dissipation.
Staying attentive to software updates is another critical aspect of maintenance. Operating systems and applications regularly release updates that include security patches, performance improvements, and new features. Ensuring that these updates are installed promptly can keep your system running smoothly and protect it from vulnerabilities. Furthermore, the regular backing up of important data is a vital practice that safeguards against data loss, be it due to hardware failure, malware, or accidental deletion. Utilizing cloud storage or external hard drives for routine backups can provide an additional layer of security for your most valued files.
In summary, maintaining your desktop PC and selecting appropriate times for upgrades will extend its life and enhance performance. A balanced approach between hardware and software management strategies will help you keep your system running efficiently and effectively.
Conclusion and Final Thoughts
Building your own desktop PC can be an incredibly rewarding experience that not only allows you to customize your machine according to your specific needs but also helps you develop a deeper understanding of computer hardware. Throughout this step-by-step guide, we have explored the essential components required for your build, including the case, motherboard, processor, memory, storage, and graphics card. Each part plays a critical role in ensuring that your system performs optimally, tailored to your personal usage, whether for gaming, content creation, or office productivity.

As you complete your build, it is important to take pride in the effort you have invested. Custom PCs not only reflect your preferences but also offer superior performance compared to pre-built systems. By choosing each component, you have crafted a unique system that serves your individual requirements. Furthermore, this guide has emphasized that building a desktop PC is not merely an end but a stepping stone towards future enhancements. As you grow more familiar with your setup, consider exploring new upgrades or modifying existing components to boost performance and keep your machine current.
In addition, the knowledge acquired during the building process opens up the possibility for troubleshooting and repairs, allowing you to maintain your system effectively. This skillset can be invaluable in today’s technology-driven world. Enjoy your newly built desktop PC and appreciate the journey that brought you to this point. With continued exploration, you can ensure that your system remains relevant and powerful for years to come. The satisfaction derived from creating a desktop PC that embodies your vision is unparalleled, and we encourage you to enjoy every moment with your new setup.


